Prologue: Destiny Islands
 Kingdom Hearts |  Destiny Islands |
Theme Music: Destiny Island
Battle Music: Bustin’ Up On the Beach
Battle Music: Bustin’ Up On the Beach
Strange for a game to have both a tutorial and a prologue, no? Well, this is where the game starts to get going. There isn’t much of any critical importance until the end of the prologue, so relax a bit and use this time to get acquainted with the game.
Day 1: Searching for supplies (part 1)
Items: Log x2, Cloth, Rope, Hi-Potion
Enemies: Wakka, Tidus, Selphie, Riku
Save points: 1
Destiny Islands: Seashore
To start your adventure, talk to Kairi. She’ll give you a list of items you need to gather. Turn back and run along the shore to find the first log.
Further down the beach near the dock is Wakka. Talk to him to duel. Let me say, you don’t have to, you don’t have to fight anyone here, but it’s good experience for you and the EXP is pretty good as well. There is no consequence for losing either. Finally, you can play the duels as many times as you want.
--====--
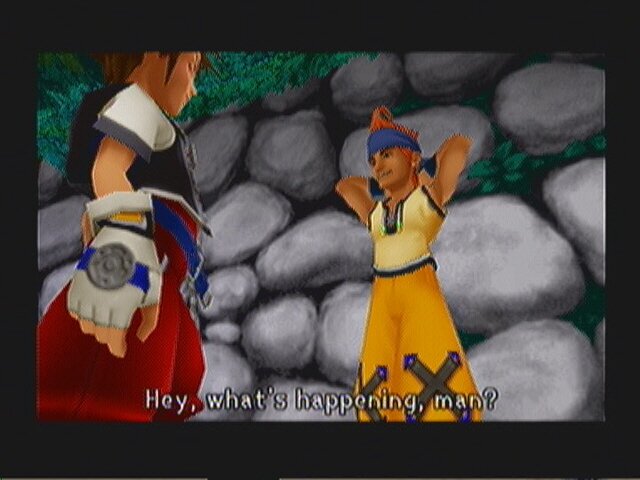 --== Duel: Wakka ==-- |
Attacks:
1) Blitzball. Jumps into the air and throws a ball at you very hard. Call sign: Take this!
1) Blitzball. Jumps into the air and throws a ball at you very hard. Call sign: Take this!
2) Throw. Throws a ball at you normally.
3) Spin attack. Spins around with his arms out, knocking you back if you’re close to him.
How to dodge:
1) It’s pretty easy to just step aside. You can deflect it back, but your timing has to be perfect.
1) It’s pretty easy to just step aside. You can deflect it back, but your timing has to be perfect.
2) Easy to just step aside, but this is also the easiest way to earn points here. Deflect the balls back by hitting them with good timing to get a tech point. Also, if the ball hits, it’ll daze him.
3) After you finish a combo (the only real reason you’d get close to him), step back a bit before he uses it.
Tech points:
1) and 2) can be deflected, with 2) being the easiest. 3) is really hard to get the timing.
1) and 2) can be deflected, with 2) being the easiest. 3) is really hard to get the timing.
Strategy:
The only point to these battles is to earn EXP. As such, your main goal here should be to deflect as many balls as possible. If you actually want to go for the win, daze him with a ball then do a quick combo.
The only point to these battles is to earn EXP. As such, your main goal here should be to deflect as many balls as possible. If you actually want to go for the win, daze him with a ball then do a quick combo.
--====--
Jump up onto the pier beside Wakka. At the far end is Selphie who you can also fight.
--====--
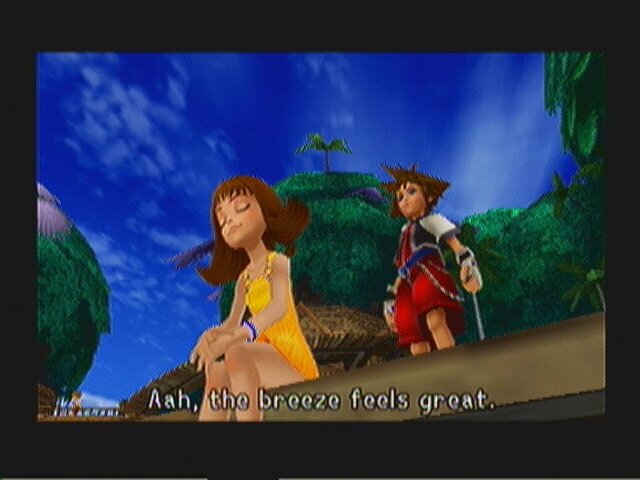 --== Duel: Selphie ==-- |
Attacks:
1) Slash. Gets close to you and does a simple slash.
1) Slash. Gets close to you and does a simple slash.
2) Jump attack. She’ll jump up and swing upon landing near you.
3) Dash attack. Begins twirling the rope around her as she charges for you. Call sign: Are you ready?
How to dodge:
1) She’ll usually do this as a counter after you’ve finished a combo, but basically just try to keep some small distance from her if you’re not attacking.
1) She’ll usually do this as a counter after you’ve finished a combo, but basically just try to keep some small distance from her if you’re not attacking.
2) Moving even in the slightest will make her miss. Further, it will normally backfire and she’ll lose her balance when she lands.
3) Hard to dodge on it’s own, it’s very easy to get tech points off of. Wait till she gets near, then swing right into the rope.
Tech points:
All attacks can be deflected with good timing for 1-2 tech points.
All attacks can be deflected with good timing for 1-2 tech points.
Strategy:
This is the easiest of the battles, as the odds of her killing you is very low. All of her attacks are easy to counter and her HP is pretty low as well. Get in close and start beating on her for a quick finish.
This is the easiest of the battles, as the odds of her killing you is very low. All of her attacks are easy to counter and her HP is pretty low as well. Get in close and start beating on her for a quick finish.
--====--
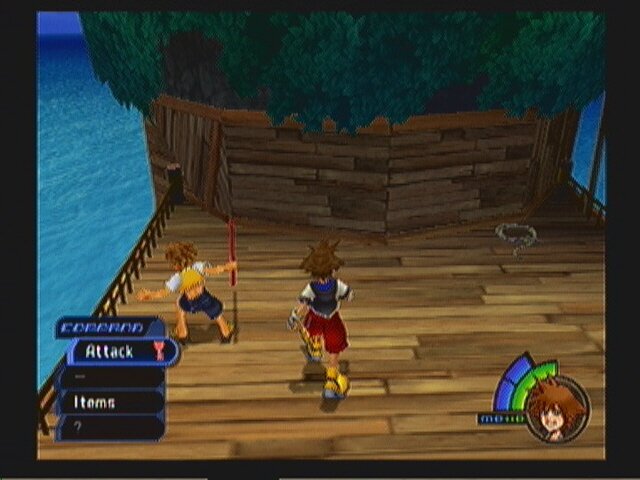 Rope |
Back on land in the alcove behind the pier, the ladder on the left side will take you up to the area where you first saw all of them during the tutorial. The rope is right behind Tidus.
--====--
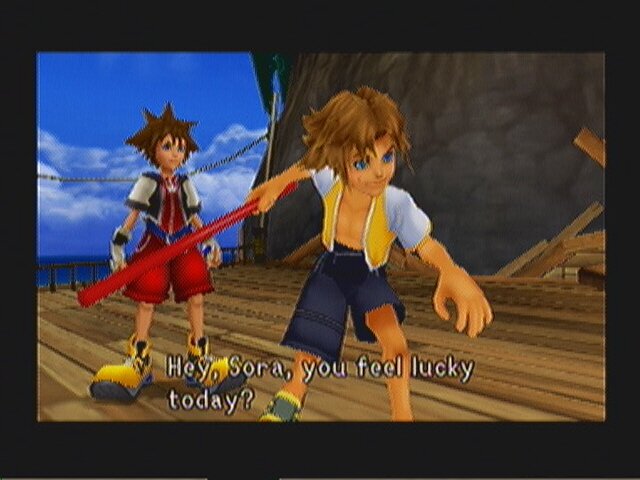 --== Duel: Tidus ==-- |
Attacks:
1) Upward slash. Jumps into the air and does a back flip with his pole.
1) Upward slash. Jumps into the air and does a back flip with his pole.
2) Jump attack. Jumps forward at you, but not from long distances.
3) Downward slash. His standard attack for when he’s close.
How to dodge:
All of his attacks are roughly the same. They are such broad attacks that you can usually see them coming. Dodging is fairly hard, but they are normally easy to deflect for tech points.
All of his attacks are roughly the same. They are such broad attacks that you can usually see them coming. Dodging is fairly hard, but they are normally easy to deflect for tech points.
Strategy:
Deflect all of his attacks and remember to follow up with a combo for the win.
Deflect all of his attacks and remember to follow up with a combo for the win.
--====--
Opposite the ladder that took you to Tidus, there is a small set of stairs that leads onto a walkway. The walkway goes around the tree and up a ladder to a treehouse at the top. The cloth is inside on the wall.
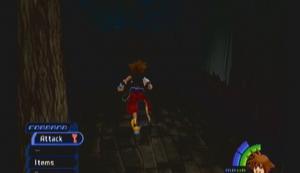 Cloth |
Jump back down to the pier. Go across the beach to the shack that’s build by the cliff wall. Enter the door in front.
You’re now technically inside the Seaside Shack, but I don’t see any reason to mark it. There is a type-A save point in here you can use. After, exit out the top via the stairs behind the save point.
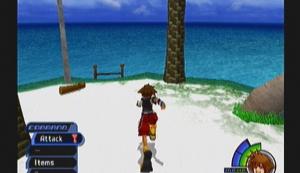 Log #2 |
Follow the bridge across to the little island. The log is lying in plain sight. Rikku is also sitting on the bent tree.
--====--
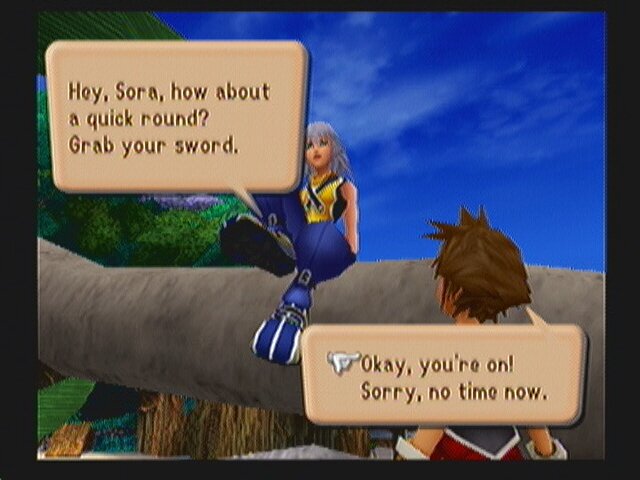 --==Duel: Rikku ==-- |
Strategy:
I’ll jump straight here, as there isn’t much to this fight, all be it the hardest of the duels. All of his attacks come very fast and pack a punch. Generally, keep your distance and wait for him to come. Rushing in will only get you hurt. Further, he has one counter attack where he curls up on the ground on his back, then lunges forward. This attack can only be dodged if you see it coming and react by halting your combo and jumping away. When he entices you to attack, don’t. He’ll block a couple of your attacks, then counter when your combo finishes.
I’ll jump straight here, as there isn’t much to this fight, all be it the hardest of the duels. All of his attacks come very fast and pack a punch. Generally, keep your distance and wait for him to come. Rushing in will only get you hurt. Further, he has one counter attack where he curls up on the ground on his back, then lunges forward. This attack can only be dodged if you see it coming and react by halting your combo and jumping away. When he entices you to attack, don’t. He’ll block a couple of your attacks, then counter when your combo finishes.
--====--
Well, that’s it for now. You’ll have another chance to duel everyone some more tomorrow, so you can pack it in for now by talking to Kairi.
Day 2: Searching for supplies (part 2)
Items: Protect Chain, Empty bottle, Drinking Water, Seagull Egg,
Coconut x2, Fish x3, Mushroom x3, Pretty Stone x??, Potion x??,
Hi-Potion
Enemies: Wakka, Tidus, Selphie, Riku
Save points: 1
Coconut x2, Fish x3, Mushroom x3, Pretty Stone x??, Potion x??,
Hi-Potion
Enemies: Wakka, Tidus, Selphie, Riku
Save points: 1
Destiny Islands: Sea Shore
Here you are again. You can duel everyone except Rikku again. Tidus has moved up to the island where Rikku was, though you still face him on the beach. Also, you can talk to Tidus and face all three (Tidus, Selphie, and Wakka) at once. The payoff for the fight is pretty good, usually around 30 EXP and a potion if you win. Strategy is to focus on Selphie, then Tidus, and finally Wakka, breaking it down into a one-on-one fight.
Anyway, the door Kairi was standing in front of yesterday is now open, giving you access to a new area: Cove.
Destiny Islands: Cove
Talk to Rikku as soon as you enter to get pushed into a race. The winner technically decides the name of the raft, but the odds of you winning the first try is ridiculously small.
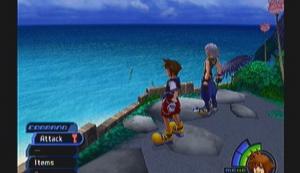 Race. Follow the montage! | 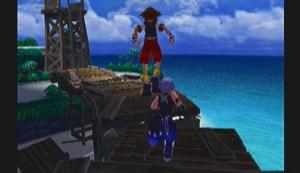 Across the planks. What the one that falls! |
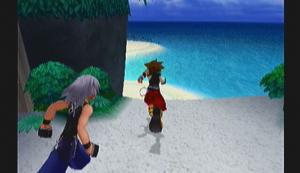 Around the tower and through the shallow water | 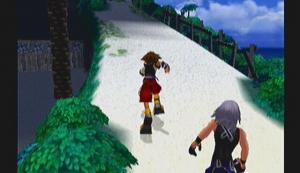 Up the slope |
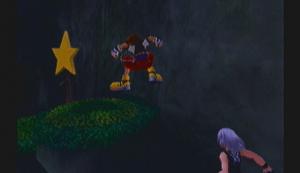 Jump across the ledges and touch the star | 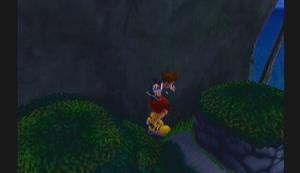 Jump back across |
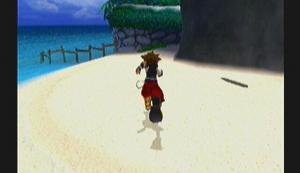 and back the way you came |
That’s the fastest easiest route. There are others, like after you cross the bridge you can climb the tower and take the zip line, or jump the ledge next to the tower and jump across the tree tops.
IF you win, you get a Pretty Stone. You can keep winning up to 99 Pretty Stones if you want.
With that over with, talk to Kairi who is now on the raft you passed. She’ll send you on another scavenger hunt.
With that over with, talk to Kairi who is now on the raft you passed. She’ll send you on another scavenger hunt.
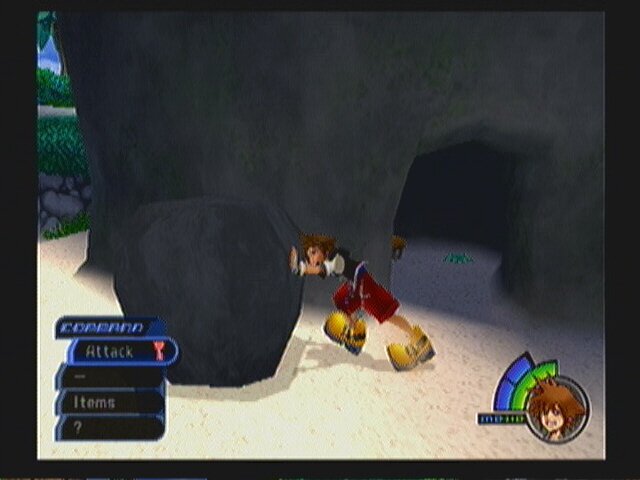 Mushroom #1 |
- The first mushroom is right near by. Find the rock sticking out of the cliff near the raft and push it aside. The alcove holds the mushroom.
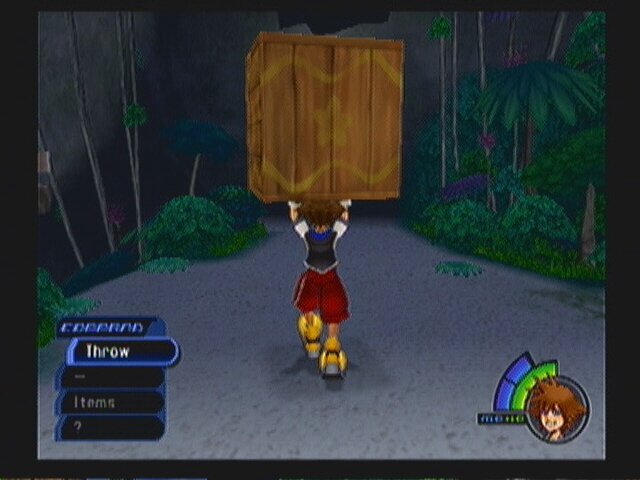 Protect Chain |
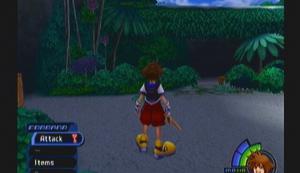
- This isn’t on your list, but is worth getting anyway. What if you run into some unfriendly whalers? Find the box hidden amongst the brush near the watchtower. Lift it and carry it over to the cliff wall by the broken bridge. You should see a hole in the wall overhead. Get up next to the wall and throw the box to make it land under the hole, and use it to get up to the chest.
 Mushroom #2 |
- Between your box and the watchtower is the second mushroom, near some brush.
Our next items are at the Seashore.
Destiny Islands: Seashore
 Drinking Water |
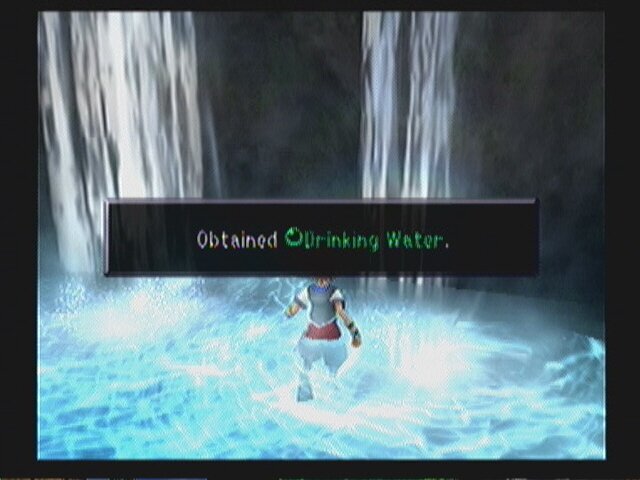
- Jump in the pond behind Wakka and wade up to the waterfall to automatically get some drinking water.
 Seagull Egg |
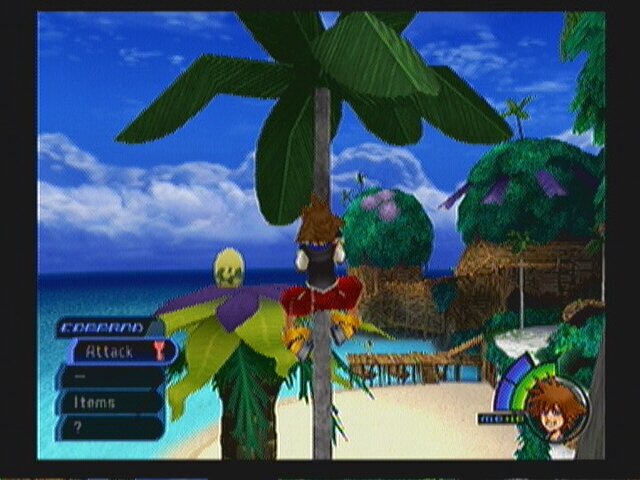
- From the waterfall, jump onto the Seaside Shack and look for an egg onto one of the trees before the bridge ahead. Use the thin tree next to it to climb up and jump onto the tree with the egg.
 Coconut x2 |
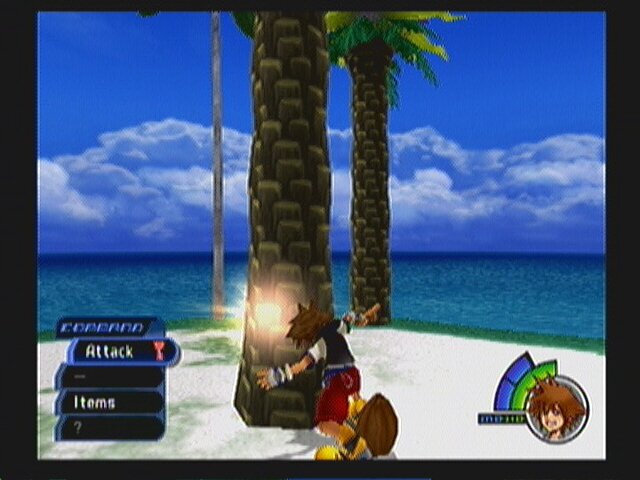
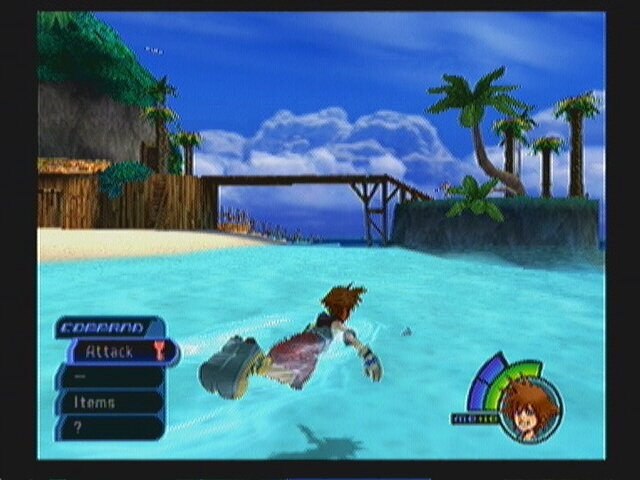
- Go across the bridge and look for the tree pictured above. That tree has the best odds of dropping a coconut when hit. Lock on and attack it to make it drop fruit. You are looking for the green ones. Once you have two, move on.
 Fish x3 |
- Off the island, wade over to the pier. There should be three fish swimming randomly around the pier. Walk into them to pick them up.
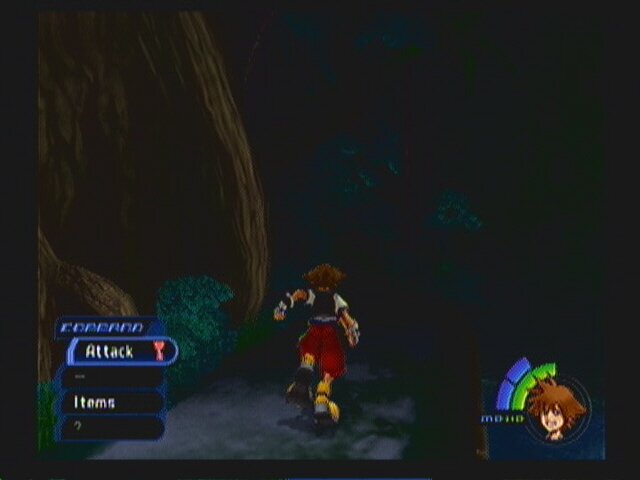
The final Mushroom is in the Secret Place. The entrance is a little hard to spot, but if you talk to Wakka, a cutscene will show you the entrance.
 Secret Place |
Destiny Island: Secret Place
- Mushroom is on the far side, near the wooden door. You get a strange cutscene after picking it up.
Destiny Island: Cove
Well, technically we’re done. However, I highly recommend you make an effort to level up before talking to Kairi and ending the day. That is, strive to be on at least level 5 before ending it, not to mention saving in the shack.
Night: When dreams come true
Items: None
Enemies: Shadow
Boss: Darkside
Save points: 1
Enemies: Shadow
Boss: Darkside
Save points: 1
Destiny Islands: Seashore
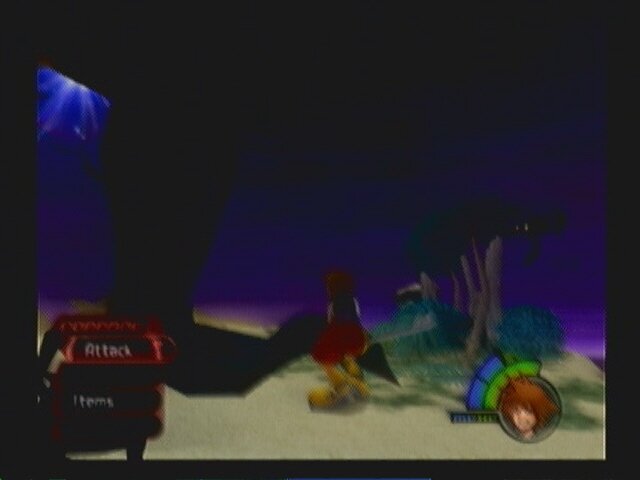
(Note that this part isn’t near as dark as the screens make it look. Studio 9 apparently has issues with dark areas >.>)
 |
Here you are again. You island has been overrun with Shadows and a dark storm threatens to rip apart it apart at the seams.
Running around a bit, you’ll soon learn that Shadows are everywhere and worse yet your wood sword has no effect on them at all. Make your way to the island where you fought Rikku (via the Seaside Shack, as Shadows don’t spawn in there).
After the cutscene, you get your new and permanent weapon: the Keyblade. The Keyblade is, supposedly, along with Magic, the only weapon that can harm the Heartless, but you learn otherwise very quickly.
Anyway, now you can fight the Shadows in the area. They aren’t infinite, but it sure seems like it at times. Wonder around and try to get up to at least level 6 (if not 7) if you haven’t already. There should be plenty to go around.
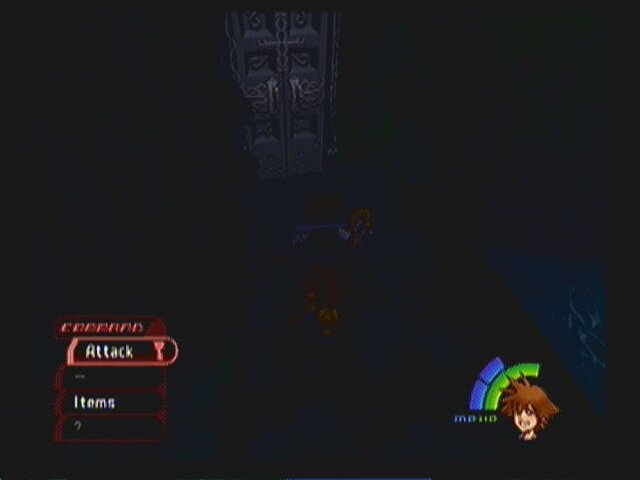
Once you’re done fighting, head to the Secret Place. You’ll see there is now a door over the entrance.
 Secret Place |
Cuts to a cutsence again, that leaves you back out at the Seashore. Now it’s time for the boss fight!
 --== Boss: Darkside ==-- |
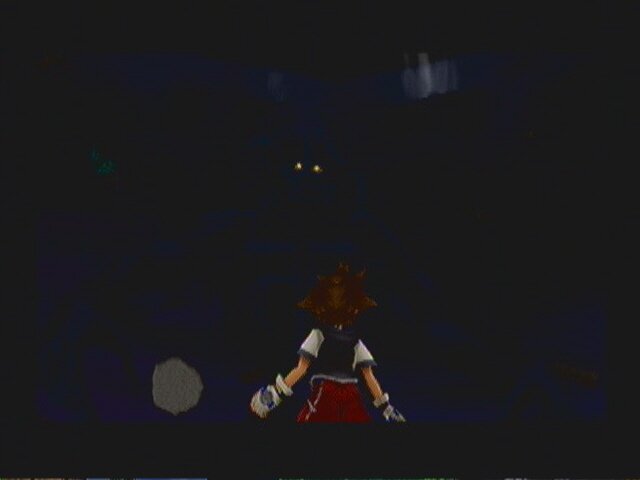
This fight is exactly the same as before, only he has more HP, but you have more STR as well.
Attacks:
1) Dark Portal. Fist starts to glow, leans back, and slams it forward into the ground. This creates a portal that spawns Shadows.
1) Dark Portal. Fist starts to glow, leans back, and slams it forward into the ground. This creates a portal that spawns Shadows.
2) Black Laser. Takes a “Why?!” pose, and his chest starts to glow. He’ll then fire 2-6 homing lasers.
How to Dodge:
1) The initial attack wont hit you, as it’s not aimed at you. More so the Shadows spawned from it are meant to hurt you, not that they will.
1) The initial attack wont hit you, as it’s not aimed at you. More so the Shadows spawned from it are meant to hurt you, not that they will.
2) Just stay close to Darkside and the attack wont hone in properly. If it comes close enough, you can swing you weapon to deflect it and earn a tech point.
Strategy:
Darksides only weakness is his hands. His right hand in particular, as it’s easier to hit. Stay locked on to it and hammer away.
Darksides only weakness is his hands. His right hand in particular, as it’s easier to hit. Stay locked on to it and hammer away.
 End |

Blogger Comment
Facebook Comment